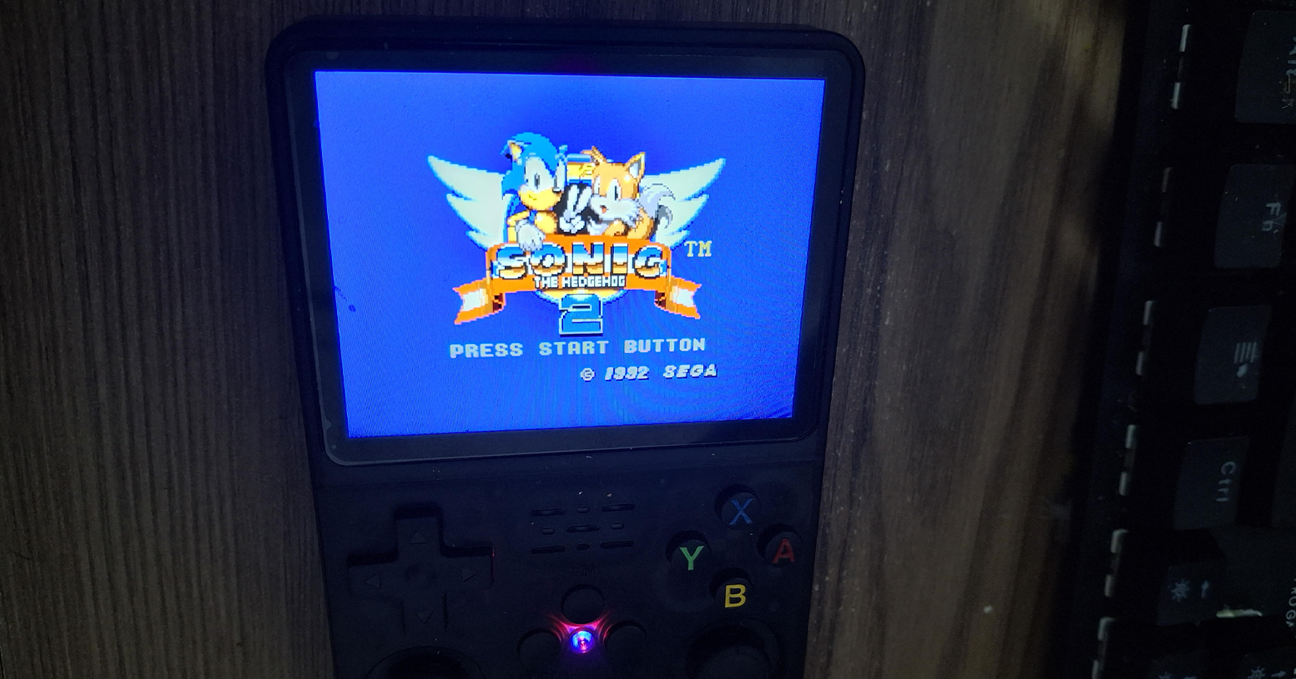
I purchased an R36S portable emulator recently and, after erasing everything and installing a clean distro from scratch, my first action was to persist the game saves.
Why? Because over the years, losing save games has been one of the most frustrating experiences for me. I explored a few ways to implement cloud storage solutions—like Dropbox, Google Drive, and OneDrive—but after a while, Git repositories seemed like the best option.
A Git repository allows these small files to be stored along with their different versions over time. I don’t expect the repository to grow too large, and I don’t plan to abuse it, so I’m going to use GitHub as my remote. If it grows, I can change the remote later or adjust my strategy.
Configuring the RetroArch save folders
TThe first thing I did was change the save file directory from the individual ROM folders to the global /home/ark/.config/retroarch/saves/ instead.

OOpen RetroArch and go to Settings >Directory > Save Files.

Do the same for the Save States

Don’t forget to persist your configuration file before quitting.

Then, I created two private repositories: k36-saves and k36-states.
Creating the SSH keys
After enabling Wi-Fi or LAN on your R36S, log in via SSH using your preferred method (SSH, WSL SSH, PuTTY, etc.).
In my case, I used the following command:
ssh -o PreferredAuthentications=password ark@192.168.0.12When asked for a password, I used the default ark
Now, you can create the SSH keys:
ssh-keygen -t rsaThis creates a public/private key pair in your user’s home folder.
Copy the contents of /home/ark/.ssh/id_rsa.pub and add them to your GitHub Settings >SSH and GPG keys section.
If you have other repositories, I recommend creating a separate account since this provides full write access to your repositories.
Creating the Local Repositories
Now, let’s go to the previously mentioned saves folder and initialize the repository there:
cd /home/ark/.config/retroarch/saves/
git init
git remote add origin git@github.com:viniciusrezende/k36-saves.git
git checkout -b main
Replace the remote URL with your own repository.
Repeat the same process for the states folder.
While we’re here, let’s configure the global information for the Git user:
git config --global user.email "ark@viniciusrezende.com.br"
git config --global user.name "ArkOS k36"
Creating the Auto-Commit / Auto-Push Script
Now, let’s create the script in our home folder:
touch ~/pushgit.sh
chmod +x ~/pushgit.sh
nano ~/pushgit.sh
Then paste the following contents:
set -e
timestamp=$(date +"%Y-%m-%d %H:%M:%S")

cd /home/ark/.config/retroarch/saves
if ! git rev-parse --is-inside-work-tree >/dev/null 2>&1; then
  exit 1
fi
if [[ -n "$(git status --porcelain)" ]]; then
  echo "Changes detected. Committing..."
  git add -A
  git commit -m "Auto commit: $timestamp"
fi
git push origin main

cd /home/ark/.config/retroarch/states
if ! git rev-parse --is-inside-work-tree >/dev/null 2>&1; then
  exit 1
fi
if [[ -n "$(git status --porcelain)" ]]; then
  echo "Changes detected. Committing..."
  git add -A
  git commit -m "Auto commit: $timestamp"
fi
git push origin main
Adding the cron event
For the last step, open the crontab with crontab -e and add the following line:
*/5 * * * * bash /home/ark/pushgit.shExtra
While writing this, I had some issues taking screenshots from the R36S.
For anyone curious, I used the following command:
sudo ffmpeg -f kmsgrab -i - -frames:v 1 -vf "hwdownload,format=bgr0" screenshot.png

